RV Cushion Upgrades: How to Replace Cheap Camper Foam and Sleep Better
There is a universal truth among RV owners: the factory cushions are terrible. It does not matter if you bought a $15,000 pop-up or a $150,000 Class A motorhome — the manufacturer skimped on the foam. Dinette seats that feel like plywood by the second day of a trip. Sleeping surfaces that leave you stiff and sore every morning. Cushions so thin and lifeless that you dread the drive home almost as much as you dreaded sleeping on them.
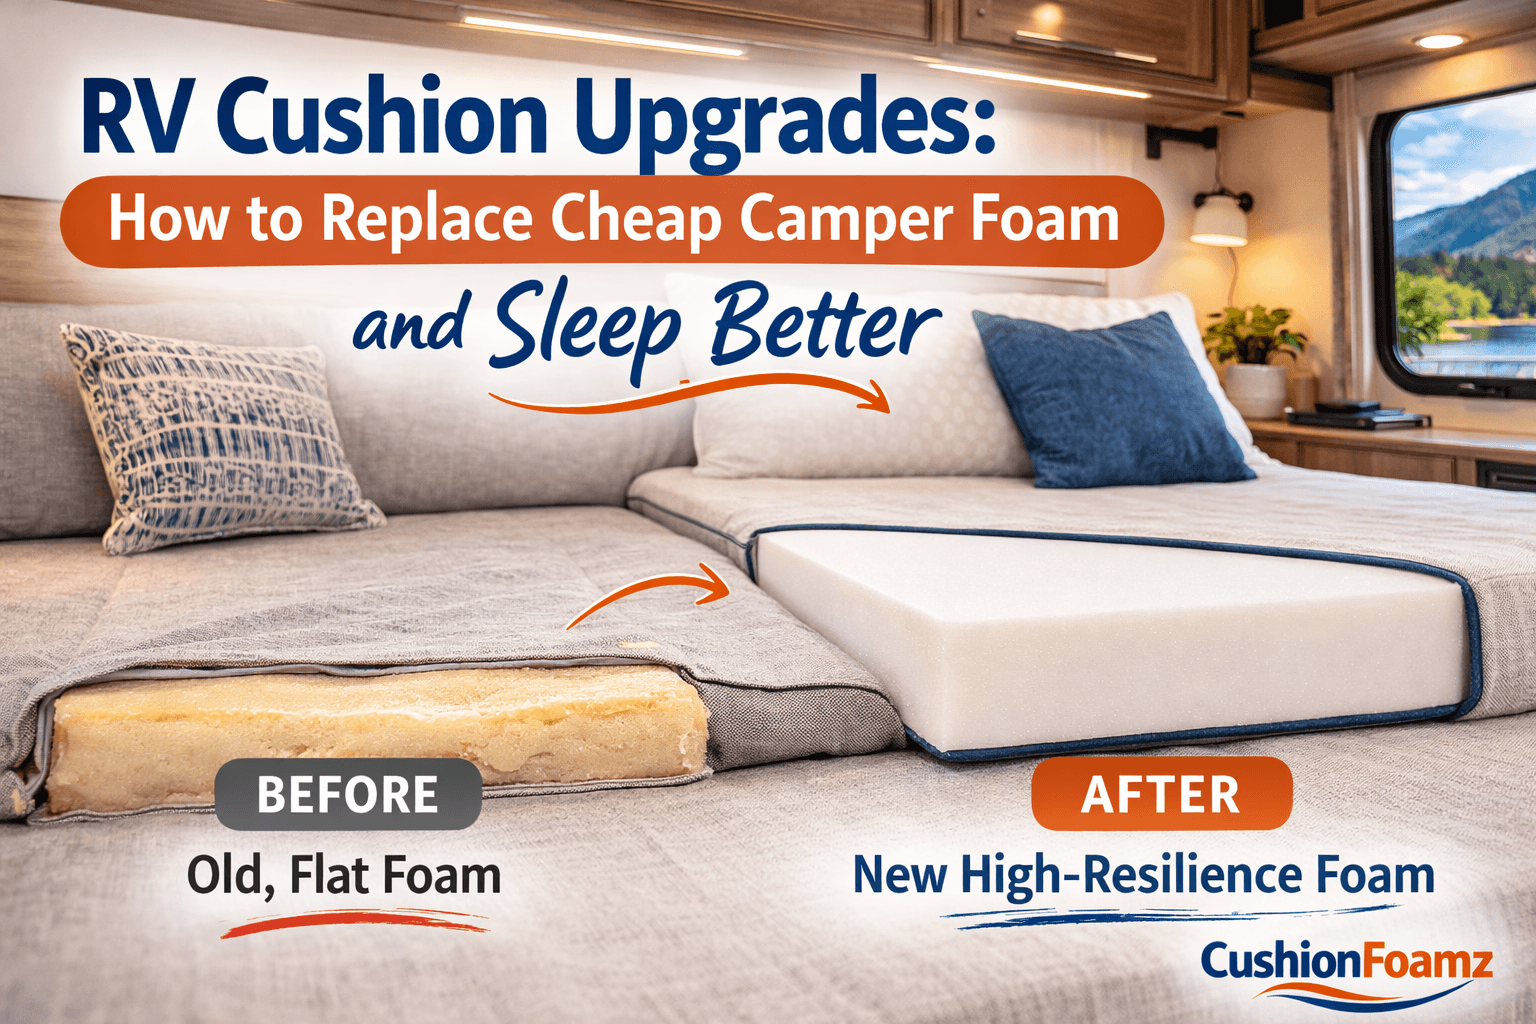
The reason is simple economics. Foam is a significant line item in RV production, and manufacturers shave cost by using the lowest-grade polyurethane they can get away with — typically 1.2 to 1.5 lb/ft³ density foam that starts breaking down from the moment you first sit on it.
The fix is just as simple: replace the foam. Custom-cut replacement foam for an entire RV interior typically costs $200 to $600 — a fraction of what you paid for the vehicle — and the comfort improvement is transformative. This guide covers every cushion and mattress surface in your camper, how to measure the oddball shapes RV manufacturers love, and how to choose the right foam for each application.
Why RV Foam Is So Bad (And Why Replacing It Is the Best Upgrade You Can Make)
RV manufacturers make hundreds of choices during production, and almost all of them prioritize cost, weight, and manufacturing efficiency over long-term comfort. The foam in your cushions is a prime example.
Cost pressure. A full set of dinette cushions, a sleeping platform mattress, and various other cushioned surfaces in a typical travel trailer might contain 15 to 25 cubic feet of foam. At premium foam prices, that represents $400 to $800 in material cost. At budget foam prices, it drops to $80 to $200. That delta comes straight off the manufacturer's bottom line, so they choose cheap foam every time.
Weight sensitivity. RVs have weight limits, and lighter foam means more payload capacity for everything else. Low-density foam weighs less per cubic foot — which is one legitimate reason manufacturers choose it. But the weight difference between 1.5 lb and 2.8 lb foam across an entire RV is only about 15 to 25 pounds. That is a cooler full of drinks. It is not a meaningful tradeoff against years of uncomfortable sleep.
Lifespan mismatch. Budget foam lasts one to three years under regular use. Most RV owners keep their vehicles for five to ten years. The foam is engineered to fail well before the vehicle does.
When you replace RV foam with 2.8 lb/ft³ high-resiliency foam, you are upgrading to the same material professional furniture makers use for sofas that last fifteen years. The difference in sleeping and seating comfort is not subtle — it is dramatic.
RV Cushion Types and Foam Recommendations
Every RV has a different layout, but most contain some combination of these cushion types. Here is what to use for each:
Dinette Seat Cushions
The dinette is the most-used seating surface in most RVs. You sit here for meals, games, working on laptops, and socializing. In many layouts, the dinette also converts into a sleeping surface by lowering the table.
Recommended foam: Indoor 2.8 lb HR foam in medium-firm. The higher density handles the dual-purpose demand of sitting and sleeping without compressing flat.
Typical dimensions: 3 to 5 inches thick, varying widths and depths depending on your dinette configuration. Many dinettes have two long bench cushions and two to four backrest cushions.
For dinettes that convert to beds: Go with 4-inch minimum thickness in medium-firm. Thinner cushions will feel the table platform underneath when sleeping. If you are a side sleeper or weigh over 200 pounds, 5 inches is better. Our foam guide for heavier individuals has specific thickness and firmness recommendations by weight range.
Sleeping Platform / Main Bed
Many RVs have a dedicated queen, full, or custom-size mattress on a sleeping platform. The factory mattress is almost always a thin, low-density slab that belongs in a college dorm, not a vehicle you are spending vacation time in.
Recommended foam: Indoor 2.8 lb HR foam in medium-firm, 5 to 6 inches thick. This provides genuine mattress-quality support and comfort. If you want a softer sleeping feel, consider a 5-inch firm foam base with a 1-inch soft foam or memory foam topper — the firm base provides support while the topper adds plush comfort.
Typical dimensions: Queen (60 × 80 inches), full (54 × 75), or custom sizes based on your specific RV model. Many RV mattresses have cut corners, notches for wheel wells, or curved edges to follow the interior walls. Our foam-cut-to-size service handles all of these shapes.
Slide-Out Sofa / Jackknife Couch
The slide-out sofa or jackknife couch is a common feature in travel trailers and fifth wheels. These typically have a seat cushion and one or two back cushions, and many convert to an additional sleeping surface.
Recommended foam: Indoor 2.8 lb HR foam. Seat cushion in medium-firm at 4 to 5 inches. Back cushions in medium-firm at 3 to 4 inches.
Cab-Over Bunk (Class C Motorhomes)
The sleeping area over the cab in Class C motorhomes often has the thinnest, worst mattress in the entire vehicle. It is the spot nobody wants because the foam is usually 2 to 3 inches of rock-hard budget material.
Recommended foam: Indoor 2.8 lb HR foam at 4 to 5 inches thick, medium-firm. The enclosed space over the cab stays dry, so indoor foam is appropriate. The upgrade from 2-inch budget foam to 5-inch HR foam makes this sleeping spot genuinely comfortable.
Bunk Beds
Travel trailers and toy haulers with bunk beds typically have 2 to 3 inch mattresses that are miserable for anyone over the age of eight.
Recommended foam: Indoor 2.8 lb HR foam at 4 inches thick, medium-firm. Check your clearance — make sure a thicker mattress does not prevent the bunk occupant from sitting up or create issues with bunk ladders and rails.
Exterior Cushions (Awning Area, Outdoor Kitchen Seating)
Any cushion that lives outside the enclosed RV cabin — porch seating, outdoor kitchen bar stools, exterior entertainment areas — needs outdoor foam.
Recommended foam: Dry Fast reticulated foam in medium firmness, 2 to 4 inches thick. This foam handles rain, dew, and UV without degradation. For more on why outdoor foam is essential for exposed surfaces, see our indoor vs. outdoor foam guide.
How to Measure RV Cushions
RV cushions are infamous for weird shapes. Trapezoids, pentagons, cushions with notched corners for table legs, and curved edges that follow the vehicle's interior walls. Standard rectangular measurements are often not enough.
For Rectangular or Near-Rectangular Cushions
If your cushion is a basic rectangle (or close to it), follow the standard measuring approach from our cushion measuring guide: measure the cover from seam to seam for width, depth, and thickness. Add a half inch to width and depth for a snug fit.
For Irregular Shapes: The Paper Template Method
For any cushion that is not a simple rectangle, make a paper template:
- Gather materials: Butcher paper, kraft paper, or tape several sheets of newspaper together. You need a piece large enough to cover the entire cushion surface.
- Trace the shape: Lay the paper over the cushion platform (or inside the empty cushion cover laid flat). Trace the exact outline with a marker.
- Mark reference points: Note which edge is the front, which is the back, left side, right side. Mark any curves, notches, or tapered sections.
- Measure thickness: Note the desired foam thickness on the template. If replacing existing foam, measure the cushion cover's thickness seam-to-seam.
- Label everything: Write the cushion name/location on each template (e.g., "Driver-side dinette seat," "Cab-over bunk left half").
- Photograph: Take a photo of each template with a tape measure in the frame for scale verification.
Dealing with Tapered Cushions
Some RV cushions taper — they are thicker at the front and thinner at the back, or thicker at one end than the other. If your current cushions have a taper, measure the thickness at both the thick end and the thin end and note both dimensions.
Pop-Up Camper Cushions
Pop-up campers have unique cushion challenges because the cushions must fold or compress to allow the camper to close. When upgrading foam in a pop-up, keep the same thickness as the original cushions to ensure the camper still latches properly. Upgrading foam density within the same thickness dramatically improves comfort without affecting closure. The RV forum community at PopUpPortal regularly discusses foam upgrades — this is one of the most popular modifications among pop-up owners.
Ordering RV Cushion Foam
Simple Shapes
Head to our foam configurator, select Indoor Cushion Foam, choose your shape, and enter your dimensions. For rectangular RV cushions, this is as straightforward as ordering sofa foam.
Complex Shapes
For irregular shapes, contact our team with your paper templates and photos. We will confirm dimensions, provide a quote, and cut your foam to match your templates precisely.
Pricing Examples
Here are typical costs for common RV foam replacement projects using our 2.8 lb indoor HR foam at $0.07 per cubic inch:
| Project | Typical Dimensions | Approximate Cost |
|---|---|---|
| Dinette bench (one side) | 44 × 18 × 4 inches | $22 |
| Dinette bench (both sides) | Two pieces, 44 × 18 × 4 | $44 |
| Queen sleeping platform | 60 × 80 × 5 inches | $168 |
| Jackknife sofa seat | 62 × 20 × 4 inches | $35 |
| Cab-over bunk | 54 × 80 × 4 inches | $121 |
| Complete dinette + queen bed | Full set | $250–$400 |
Free shipping on orders over $199. Most complete RV foam projects exceed this threshold easily.
Installation Tips
Let the Foam Expand
If your foam arrives vacuum-packed, remove the packaging and let the foam expand at room temperature for four to eight hours before installing. Setting the foam out in the morning and installing in the afternoon works perfectly.
The Garbage Bag Trick
New HR foam can be challenging to slide into cushion covers because the surface grips fabric. Wrap the foam in a thin plastic garbage bag, slide it into the cover, position it correctly, then pull the bag out through the zipper opening. This trick is described in more detail in our couch cushion replacement guide and works identically for RV applications.
Consider Dacron Batting for Sleeping Surfaces
For sleeping surfaces like the main bed and cab-over bunk, wrapping the foam in a thin layer of Dacron batting adds a softer initial feel that makes it more mattress-like. The HR foam provides the structural support underneath while the batting creates a plush surface layer. Spray adhesive holds the batting in place.
Test Before Committing
If you are unsure about firmness or thickness, consider ordering a single small cushion first (like one dinette backrest) as a test before ordering the complete set. This lets you verify the feel and dimensions before investing in the full project.
Common RV Foam Upgrade Questions
Will thicker foam prevent my dinette table from converting to a bed?
Potentially, if the table height is fixed. Most dinette-to-bed conversions work by lowering the table to seat height, creating a flat surface. If you increase cushion thickness, the bed surface rises accordingly. In most cases, going from 3-inch to 4-inch cushions works fine. Going from 3-inch to 5-inch may create a gap between the lowered table surface and the surrounding cushion surfaces.
Measure the gap between the top of your current cushions and the top of the lowered table. If the table sits flush with or slightly below the current cushion surface, you have room to add thickness. If the table already sits higher than the cushions, maintain the current thickness and upgrade only the foam density.
Should I replace dinette backrest cushions too?
Yes, if they are as old as the seat cushions. Backrest cushions degrade more slowly than seat cushions because they bear less weight, but they still lose support and develop body impressions over time. Replacing everything simultaneously gives you a uniform feel and appearance.
What about the mattress in my pull-out sofa bed?
Pull-out sofa beds in RVs typically use a thin, folding mattress. Replace it with a 4-inch HR foam slab that folds at the same points as the original. The comfort improvement for overnight guests is enormous.
Can I use memory foam in my RV?
You can, but memory foam has drawbacks in RV applications. It is temperature-sensitive — in a cold RV (before the heater warms up), memory foam becomes noticeably firmer and less comfortable. It also retains heat, which can be uncomfortable in summer camping without air conditioning. HR foam maintains consistent firmness regardless of temperature and sleeps cooler than memory foam. For more on foam types and their tradeoffs, see our foam density and firmness guide.
What foam should I use for outdoor RV cushions?
Anything outside the enclosed cabin — awning-area seating, exterior storage lids with cushion tops, outdoor kitchen bar stools — should use Dry Fast outdoor foam. See our boat cushion foam guide for detailed information on Dry Fast foam performance in wet environments.
The Bottom Line
Replacing the foam in your RV is one of the highest-impact, lowest-cost upgrades you can make to your camping experience. For $200 to $600, you transform every seating and sleeping surface from manufacturer-grade misery into professional-grade comfort that lasts the lifetime of the vehicle.
The process is simple: measure your cushion covers (or make paper templates for odd shapes), order custom-cut 2.8 lb HR foam from our configurator, and install the new foam in an afternoon. You will wonder why you waited so long.
Ready to upgrade your camper? Build your custom RV cushion foam →
Explore our dedicated RV and camper cushions page for more details, or visit How It Works to see the full ordering and delivery process.

