5 Easy DIY Foam Projects for Beginners (Weekend Builds)
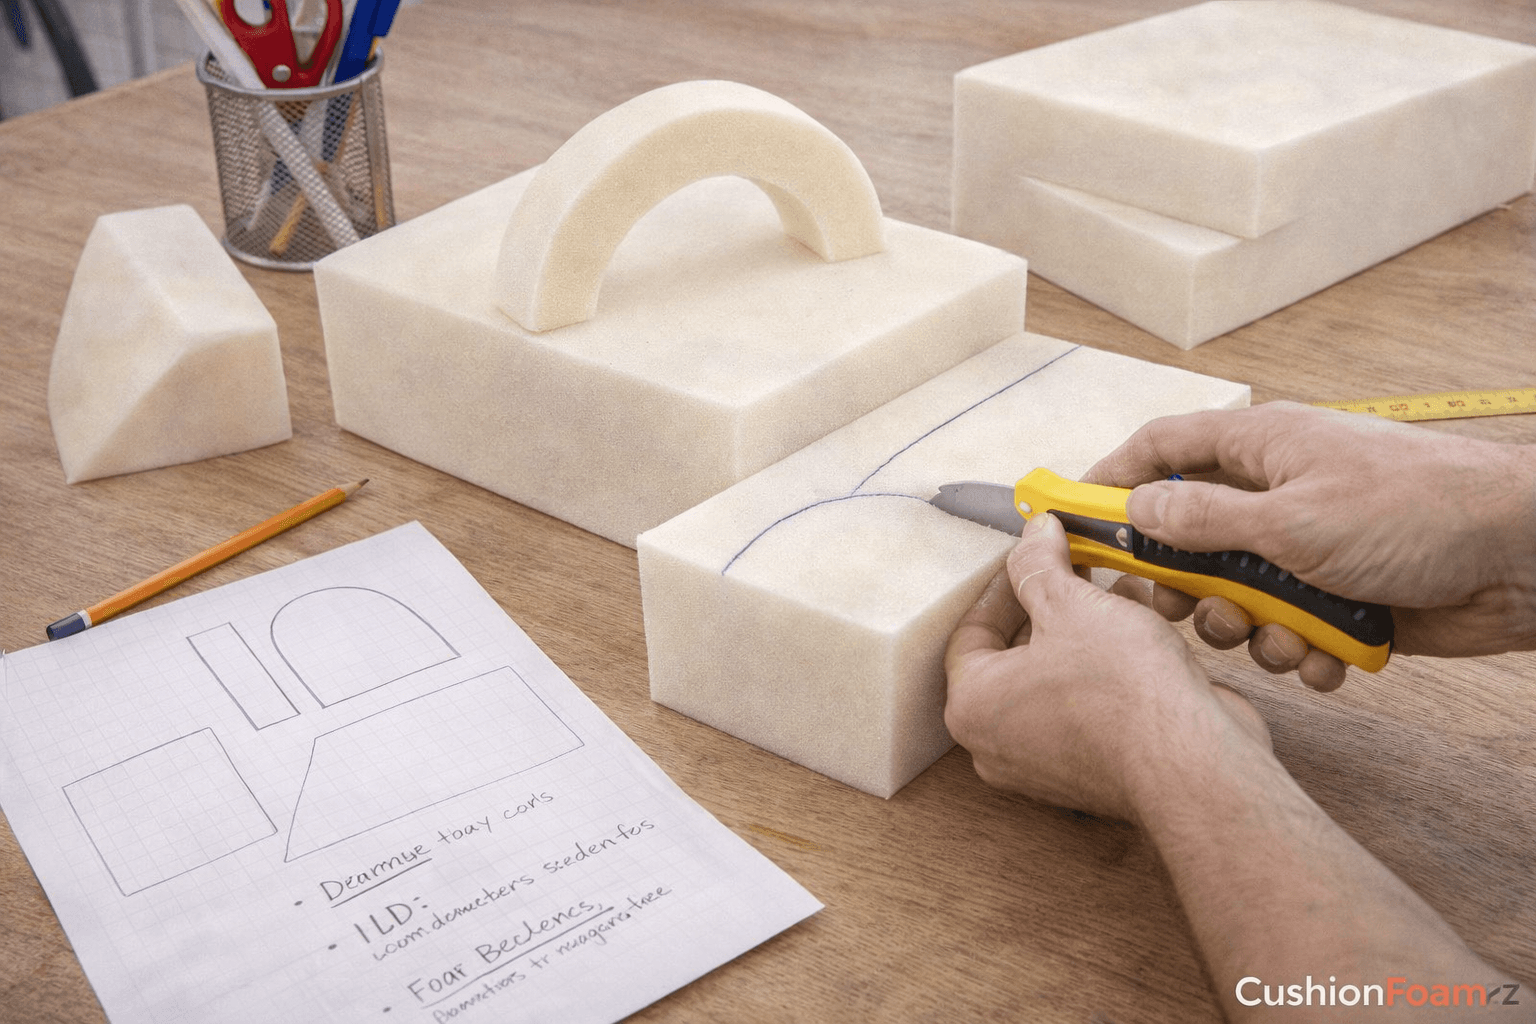
Custom-cut foam is one of the most versatile materials for home projects, and you do not need to be a skilled upholsterer to work with it. Unlike wood or metal, foam requires no power tools. Unlike fabric, it does not fray or unravel. You measure, you order it precision-cut to your dimensions, and you assemble. The hardest part of most foam projects is choosing which one to do first.
These five projects are designed for true beginners — no sewing machine required for most of them, no specialized tools, and each one can be completed in a single afternoon. They are also the projects that make the biggest visual and comfort impact per dollar spent. Every one of them uses foam from our custom foam configurator, cut to your exact specifications.
Project 1: Upholstered Headboard
Difficulty: Easy | Time: 2–3 hours | Cost: $30–$80 for foam + fabric
A padded headboard is one of the highest-impact bedroom upgrades you can make. It transforms a basic bed frame into a finished, intentional piece of furniture — and the DIY version costs a fraction of what retail padded headboards sell for.
What You Need
- Custom-cut foam: 2 inches thick, measured to the width of your bed frame and your desired headboard height (typically 24 to 30 inches tall). Order from our foam-cut-to-size page.
- Plywood or MDF backing board cut to the same dimensions (most hardware stores cut to size for free)
- Upholstery fabric: 1.5 to 2 yards depending on headboard size
- Dacron batting (optional but recommended for a softer, rounded look)
- Spray adhesive
- Staple gun and staples
The Build
- Lay the plywood on a flat surface. Spray one side with adhesive.
- Press the foam onto the adhesive side of the plywood. Let it bond for a few minutes.
- If using Dacron batting, spray the top and sides of the foam and wrap batting over it, tucking excess behind the plywood.
- Lay your fabric face-down on the floor. Center the foam-and-board assembly (foam side down) on the fabric.
- Pull the fabric tight over the back of the board and staple it to the plywood, starting at the center of each side and working outward toward the corners. Pull firmly but not so tight that you compress the foam.
- Fold the corners like wrapping a gift and staple securely.
- Mount to the wall with French cleats, or lean against the wall behind the bed.
Our 2.8 lb indoor HR foam in medium-firm at two inches provides a luxurious padded feel without excessive depth. The foam maintains its cushion for years of leaning against the headboard while reading or watching television.
Project 2: Custom Window Seat or Bench Cushion
Difficulty: Easy | Time: 1–2 hours (foam assembly) | Cost: $25–$60 for foam
This is the project that turns an empty built-in bench into the most popular seat in the house. Whether it is a bay window, an entryway bench, or a mudroom seat, a custom-fitted cushion makes it functional and inviting.
What You Need
- Custom-cut foam: 3 to 4 inches thick, cut to your bench dimensions (see our window seat cushion foam guide for detailed measuring instructions)
- Cushion cover (purchased, sewn, or improvised — see options below)
- Dacron batting (optional)
- Spray adhesive (if using batting)
The Build
- Measure your bench surface precisely — length, depth, and any irregularities.
- Order custom-cut foam from the configurator in your exact dimensions.
- When the foam arrives, wrap it in Dacron batting if desired (spray adhesive to tack it on, wrap like a gift).
- Insert into a cushion cover, or drape with a decorative fabric.
Cover Options for Non-Sewers
If you do not sew, you have several options:
- Buy a premade cover in a close size and let the custom foam fill it out.
- Use an envelope-style wrap — fold a single piece of fabric around the foam like wrapping a present, and tuck the excess under the cushion. Simple, removable, and no sewing.
- Use a fitted sheet — a twin fitted sheet works for many bench dimensions. Stretch it over the foam and tuck under.
- Commission a local seamstress — a basic box cushion cover typically costs $30 to $60 from a local sewing professional.
Project 3: Oversized Floor Cushion
Difficulty: Very easy | Time: 1 hour | Cost: $15–$35 for foam
Floor cushions are perfect for kids' playrooms, meditation corners, movie nights, and casual seating in any room that needs flexible options. They are also the simplest foam project imaginable.
What You Need
- Custom-cut foam: 4 to 6 inches thick, 24 × 24 inches or 30 × 30 inches (or any size you want). Order from the configurator.
- A large pillowcase, duvet cover, or simple fabric envelope
The Build
- Order your foam in a square or rectangle.
- Slip it into a cover. Done.
That is genuinely the entire project. The beauty of floor cushions is their simplicity. You can make a set of four matching floor cushions in the time it takes to unbox them.
Pro tip: For a meditation cushion, order a 16 × 16 × 4 inch square in medium-firm foam. The smaller footprint and moderate thickness create ideal seated support for cross-legged positions.
Kid-friendly tip: Make a set of colorful floor cushions in different fabric covers. Kids can stack them, build forts with them, and use them as crash pads. The 2.8 lb HR foam holds up to enthusiastic kid use far better than cheap pillow stuffing.
Project 4: Luxury Pet Bed
Difficulty: Easy | Time: 1–2 hours | Cost: $20–$50 for foam
Your dog or cat spends 12 to 18 hours per day sleeping or lounging. A custom foam pet bed provides genuine orthopedic support — especially important for older animals, large breeds, or pets with joint issues. And unlike the lumpy, undersized pet beds at the store, you control the exact dimensions and firmness.
What You Need
- Custom-cut foam: 3 to 4 inches thick for small to medium pets, 4 to 6 inches for large breeds. Cut to a size that lets your pet stretch out fully.
- A washable cover — either a purchased pet bed cover, a pillow case, or a simple fabric envelope with a zipper
The Build
- Measure your pet while they are sleeping in their natural stretched-out position. Add 4 to 6 inches to length and width for comfortable margins.
- Order foam from the configurator. Medium-firm for most pets. Firm for very large or heavy breeds who need more support.
- Wrap in batting if desired (adds a soft surface layer) and insert into a washable cover.
Which Foam for Pet Beds?
For indoor pet beds, indoor HR foam provides excellent orthopedic support and longevity. For pets who spend time outdoors, or for pet beds that get wet frequently (accidents, drool-prone breeds, water-loving dogs), our outdoor Dry Fast foam is the better choice since it dries quickly and resists mold. For the full comparison, see our indoor vs. outdoor foam guide.
Project 5: Dining Chair Seat Pads
Difficulty: Easy | Time: 30 minutes per chair | Cost: $8–$15 per pad
Hard dining chairs become comfortable dining chairs with a simple foam seat pad. This is one of the most practical small-scale foam projects — it costs almost nothing per chair and makes every meal more pleasant.
What You Need
- Custom-cut foam: 1.5 to 2 inches thick, cut to match your chair seat dimensions
- Fabric (one fat quarter per chair from any fabric store)
- Staple gun (if wrapping permanently) or ties (if making removable pads)
The Build — Permanent Wrap Method
- Measure your chair seat surface — width and depth. For contoured seats, make a paper template.
- Order foam from the configurator in your chair seat dimensions. If ordering for multiple chairs, enter each one (they may differ slightly).
- Cut fabric 3 inches larger than the foam on all sides.
- Lay fabric face down. Center foam on top. Wrap fabric over edges and staple to the underside of the foam (or to a thin plywood backer if you want a rigid base).
- Place the padded seat on the chair. Add adhesive-backed Velcro to the bottom to prevent sliding.
The Build — Removable Tie-On Pads
- Sew a simple envelope cover with fabric ties at the back corners.
- Insert the foam into the cover.
- Tie the pad to the chair back to keep it in place.
If you do not sew, many online retailers sell blank chair pad covers in standard sizes (16 × 16 and 18 × 18 are the most common). Order foam slightly larger than the cover for a snug fit.
Tips for All Foam Projects
Measuring Guidance
For all of these projects, accurate measurements are essential. Our complete measuring guide covers the principles that apply to any foam project — measure the space or cover from seam to seam, add a half inch for snug fit, and always double-check before ordering.
Choosing Firmness
- Soft: Back cushions, decorative pieces, thin comfort layers
- Medium-firm: Seat cushions, bench seats, pet beds, headboards (our standard and most versatile)
- Firm: Dining pads under 2 inches, support bases, heavy-use applications
For detailed firmness guidance, see our foam density and firmness guide.
Working with Dacron Batting
Dacron adds a soft, rounded appearance to any foam project. Use spray adhesive to bond it to the top and sides of the foam before covering. Do not wrap batting on cushions used outdoors — it retains moisture.
Foam Safety
All CushionFoamz foam is CertiPUR-US certified — safe for homes, children, and pets. Let new foam air out for a few hours after unwrapping to allow any residual manufacturing odor to dissipate.
What Will You Build?
These five projects barely scratch the surface of what you can do with custom-cut foam. Once you have completed one project and seen how straightforward the process is, you will start noticing other opportunities everywhere — the breakfast nook that needs cushions, the reading corner that could use a daybed, the garden bench that would be perfect with a Dry Fast foam pad.
Every project starts with the same step: measuring your space and ordering precision-cut foam.
Ready to start your project? Open the CushionFoamz configurator →
Browse our foam-cut-to-size options for any custom dimension, or visit How It Works to see the ordering process from start to finish.

